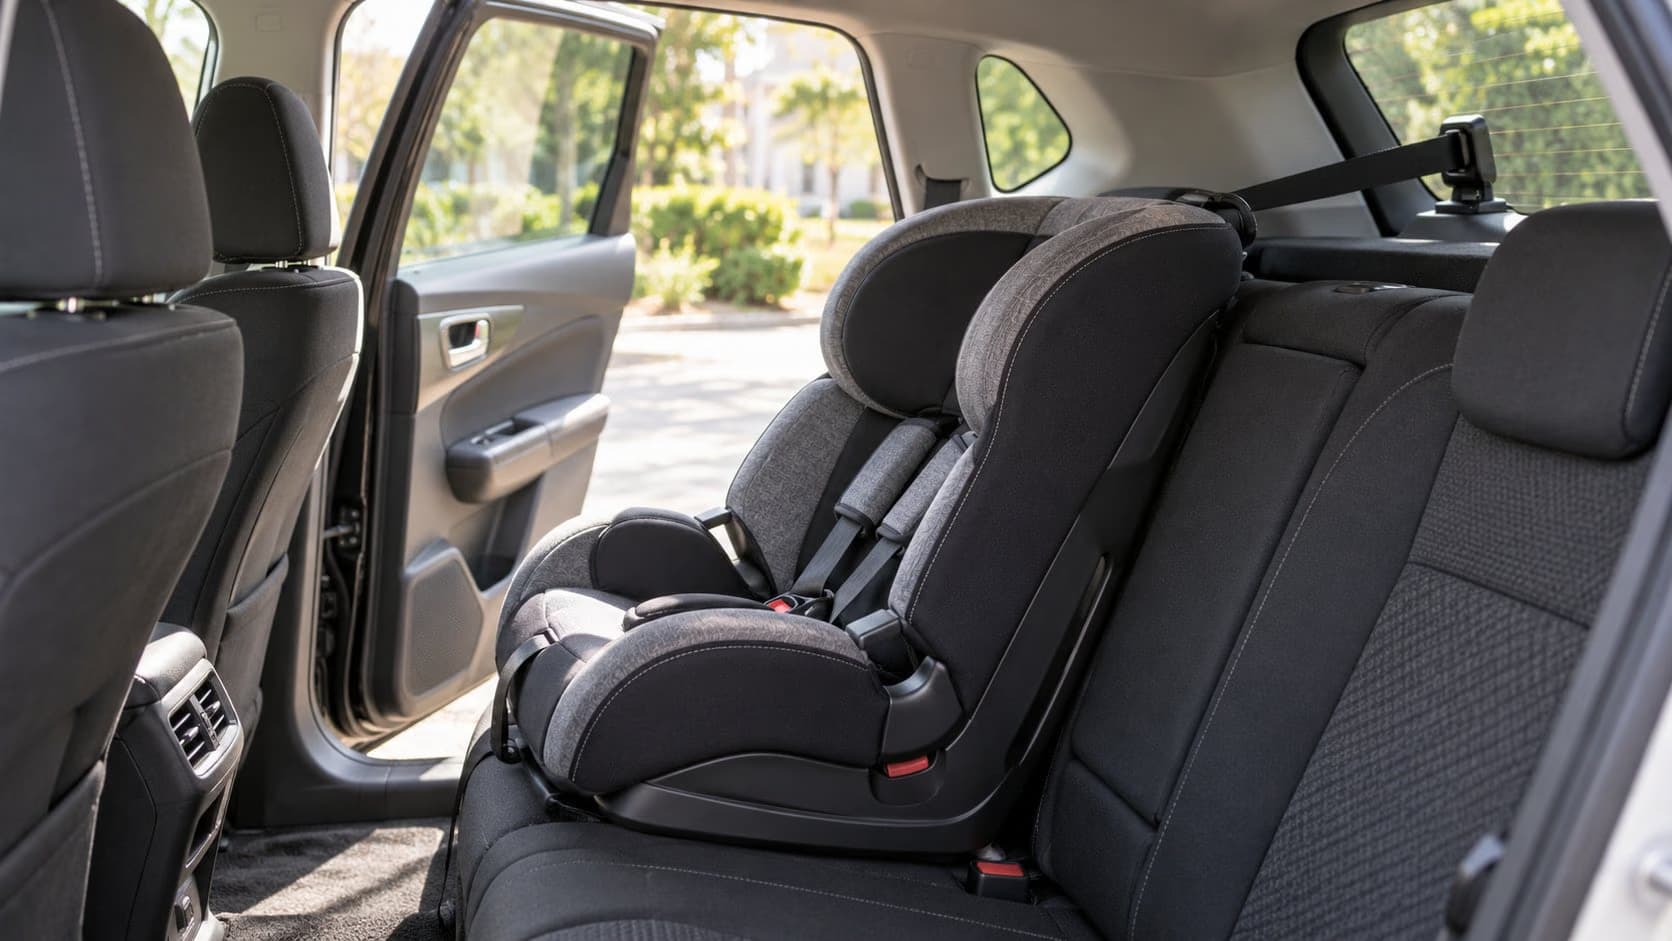
A parent can hear both ISOFIX connectors click and still have an incomplete child-seat installation. Many forward-facing seats also need the strap running from the top of the seat to a dedicated top-tether anchor in the car. The lower connectors hold the base; the tether helps limit forward movement of the seat and the child's head in a crash. That distinction is clear in the US road-safety agency NHTSA's installation guidance, and it is relevant to Indian families using compatible seats and vehicles.
The trap is that the tether anchor is rarely where a first-time installer expects it. It may be behind the rear seatback, on the parcel-shelf area or in another manufacturer-designated position. A luggage hook, head-restraint post or convenient metal loop is not automatically a child-restraint anchor. The exact location and approved seating position are in the vehicle owner's manual.
Start with two manuals, not one video
Your child seat and your car form a system. The seat manual tells you the permitted weight or height range, orientation, installation method and how to route and tighten its tether. The car manual tells you which seating positions have lower anchors and top-tether points, and how to route the strap around or through an adjustable head restraint. Both documents matter. A generic online tutorial may show a different seatback, anchor or tether design.
Check the labels on the child restraint. Some seats are rear-facing at one stage and forward-facing later. The tether instructions may change with orientation. NHTSA notes that most rear-facing seats in the US do not use a top tether, but specific designs vary; follow your seat and vehicle manufacturer rather than applying a blanket rule. If a seat uses a support leg instead, verify its approved position and how it meets the car floor. Do not improvise by adding a tether to a design that does not call for one.
Look up the car's approved seating positions before buying a seat. The centre rear seat is not necessarily equipped with the same lower anchors as the two outer positions. It is unsafe to borrow one lower anchor from each side unless both manuals explicitly permit that configuration. Likewise, do not assume that a third row or front passenger position has a top-tether anchor merely because the seat fits physically.
What the top tether does
A forward-facing child seat restrains the child through its harness and the car through its approved anchors or seat belt. In a frontal impact, the upper part of the seat wants to move forward. A correctly attached top tether limits that rotation and forward travel. NHTSA recommends using the tether with a forward-facing seat whether its lower attachment is via ISOFIX-style anchors or its installation uses the vehicle belt, provided the seat and car manufacturers permit it.
The strap must connect to the designated point, not a general luggage tie-down. The latter may not be designed or tested for crash loads. A metal fitting can look sturdy and still be the wrong part. Read the symbol and diagram in your vehicle manual; if the printed location is unclear, ask the authorised dealer to show the anchor on your exact vehicle.
Routing matters too. Some manuals direct the strap between the two head-restraint posts; others specify over the head restraint. Keep the strap untwisted and away from a route that could slip off. The correct route is vehicle-specific. The Mahindra BE 6 manual, for example, explicitly discusses ISOFIX and top-tether anchorages and illustrates that the vehicle's instructions are part of a correct install. It is an example, not a diagram to copy into a different car.
How to check an installation
Park on level ground, switch the vehicle off and work in good light. Fit the seat using the single installation method approved for that seat and position. If using lower anchors, confirm both connectors are actually engaged and not clipped to upholstery wire or a nearby bracket. Route the top tether to the marked anchor and tighten it as directed by the seat maker. If using the car belt instead, use the belt-routing and locking instructions in the restraint manual; the top tether may still be required.
After tightening, test movement at the belt path or lower-anchor path, not by pulling the top of the shell. The seat manual gives the allowable movement and the way to test it. Then check the tether again. A seat can feel tight at its base while the upper strap is loose or attached to the wrong point.
Set the harness for the child's current size and clothing, and check its routing and buckle. The best anchor installation does not compensate for loose harness straps. Avoid bulky jackets under the harness unless the seat maker's instructions explicitly address them; fit the harness correctly and add a blanket over it if needed. Never place a rear-facing restraint in front of an active passenger airbag.
Before buying a car or seat, do a trial fit
Ask the car dealer to let you fit your own child seat, or take the seat to a specialist retailer who can demonstrate the install in your vehicle. Check whether the front seats can return to comfortable positions, whether the rear doors open wide enough to load the child, and whether the tether remains accessible when luggage is packed. These are household-use questions that a safety-specification table cannot answer.
If the car is used, inspect the anchor covers and seat belts for damage. After any crash or suspected damage, seek professional assessment in line with the vehicle and seat makers' guidance. Mahindra's manual, for instance, calls for inspection of belts, ISOFIX and top-tether anchorages after a collision. A second-hand child seat with unknown crash history is difficult to assess; its visible fabric condition alone is not proof of safety.
Repeat the check as the child grows
A child seat that was fitted correctly at purchase can be wrong months later if the harness height, recline or approved weight range has changed. Set a calendar reminder to check the seat maker's size limits and the current routing. Do the same after moving the restraint between cars. A seat installed confidently in one hatchback may need a different tether route in a second vehicle.
Travel with grandparents or a hired car needs its own plan. Confirm that the vehicle has a compatible seating position before the journey, and take the instruction booklet or a downloaded copy. If the appropriate anchor is absent, use only an alternative installation that the child-seat maker and vehicle maker explicitly allow. Convenience is never a reason to clip a tether to an unapproved fitting.
Finally, check that the car's own rear head restraint is positioned as its manual requires once the child seat is installed. A folded or removed restraint may affect the fit or the adults who use that seat later. Restore the vehicle seating arrangement correctly when the child seat is removed.
Three mistakes worth preventing
- Clipping a tether to a luggage hook because it is easier to reach than the marked anchor.
- Using two lower anchors on neighbouring seating positions to centre a seat without written approval from both manuals.
- Assuming the tether is optional because the base feels firm when shaken.
If you cannot identify the right anchor or the installation still moves beyond the seat maker's permitted limit, stop and get help from the seat manufacturer, authorised vehicle workshop or a qualified child-restraint installer. The extra few minutes are about getting the whole restraint system right, not merely hearing two reassuring clicks.