A puncture on a city street is an inconvenience. On a long highway stretch, it can decide where the car can stop, whether its occupants are safe and how far help must travel. The time to learn what is in the boot is before departure. Some cars carry a full-size spare, some a smaller temporary wheel, and others only an inflator and sealant. A brochure may describe the equipment differently from the exact variant delivered to you, so open the boot and inspect it.
Neither a spare nor a repair kit is a universal answer. The Michelin guide to fitting a spare stresses a safe stopping place, the correct tools and the restrictions that may apply to a temporary wheel. Its tyre-repair guidance explains why a roadside sealant or external plug is a temporary measure before professional inspection. Your vehicle and kit manuals govern the actual procedure and limits.
Open the boot and identify the equipment
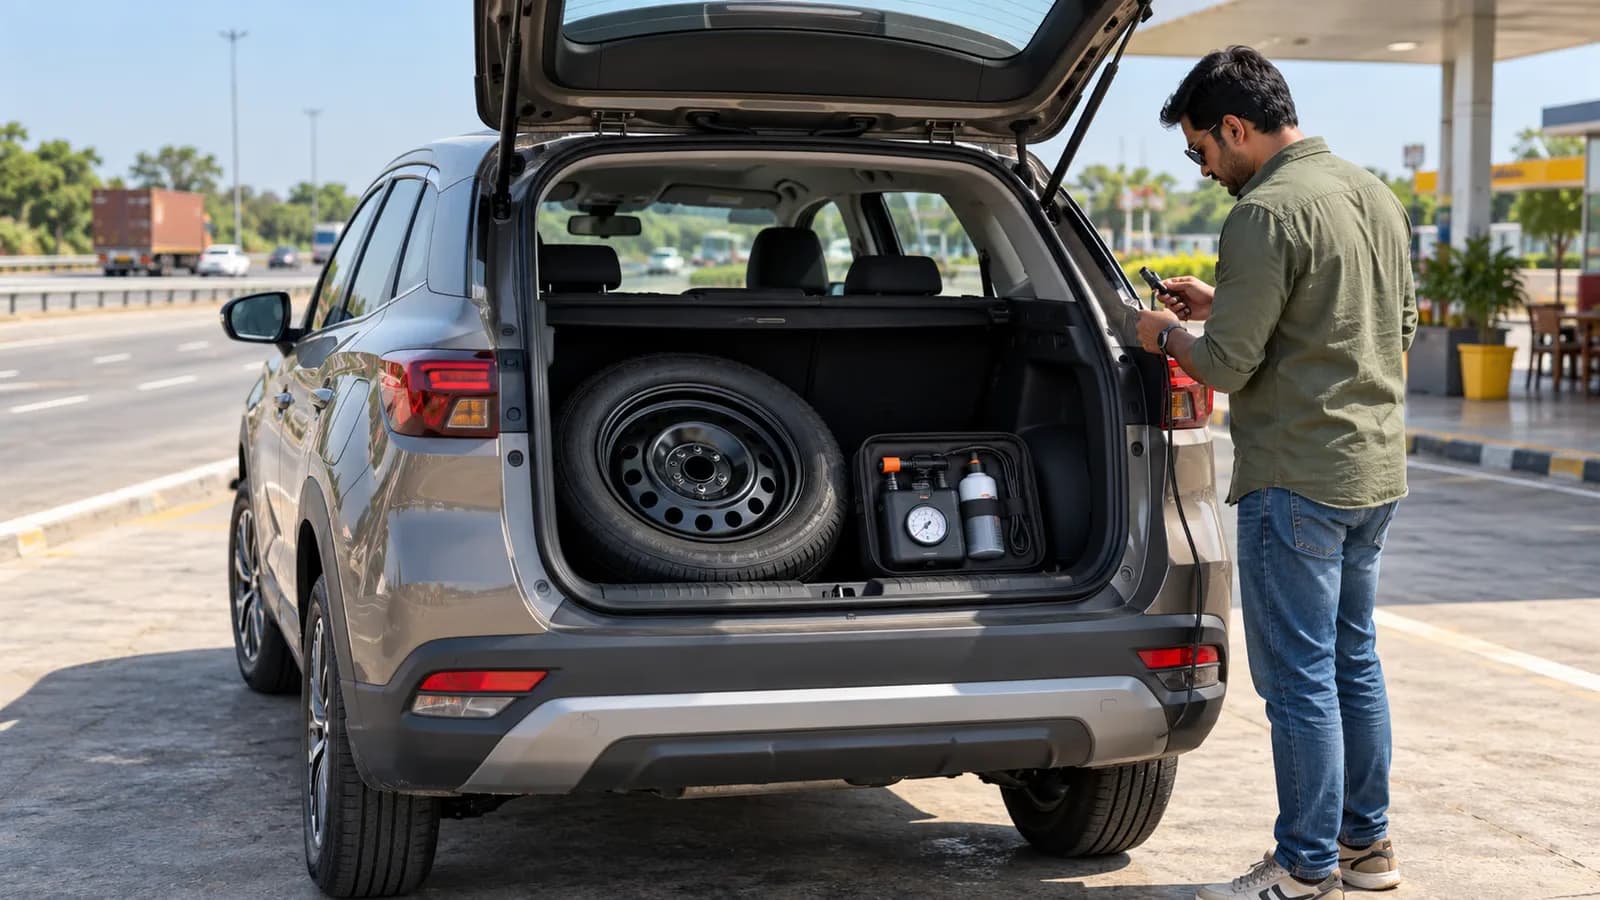
Lift the luggage-floor panel and check for a wheel, jack, wheel wrench and any locking-wheel-nut key. If there is no wheel, look for a sealant bottle, compressor, hose and power lead. Find the instructions and check that the bottle is within its stated usable period. A kit with a missing hose or a discharged compressor is not a complete puncture plan.
Also look at the spare itself. It needs the pressure specified for that wheel and a tyre in serviceable condition. A spare kept unseen for years can be underinflated. The correct pressure and any use restrictions should come from the car's manual or the spare's label, not the normal road-tyre pressure guessed from another vehicle.
Full-size and temporary spares are different
A full-size spare can have the same nominal size as the regular wheels, but you still need to verify its type, tread, pressure and the manufacturer's instructions. A compact or space-saver spare is intended as an emergency measure. It may have explicit speed, distance or drivetrain restrictions. Follow the particular wheel and vehicle guidance rather than applying a universal number from an online article.
If the vehicle has directional tyres, different wheel sizes or an all-wheel-drive system, the manual may prescribe a specific mounting position or procedure. Do not improvise a wheel swap on the roadside if you cannot confirm that the spare is suitable. Recovery to a qualified workshop is a better option than damaging the vehicle or putting occupants at risk.
What a sealant kit can and cannot do
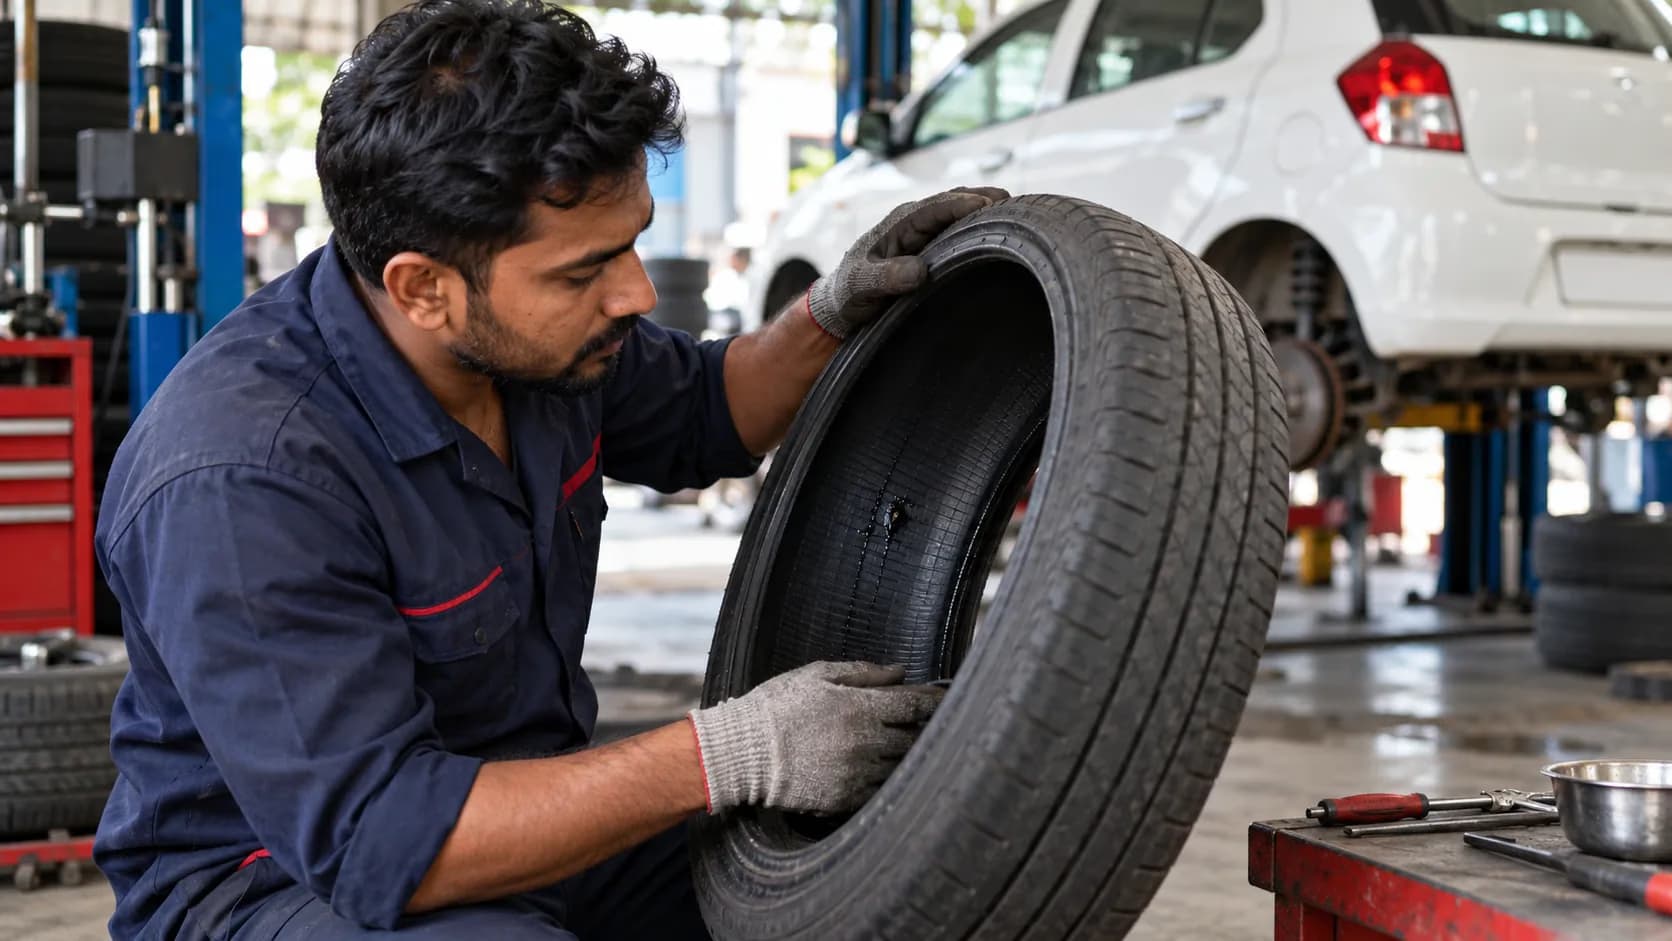
A compressor can reinflate a tyre, and a sealant may temporarily close certain small punctures. That does not make it a permanent repair. The kit's instructions set its eligible damage types and the actions required after use. A torn sidewall, badly damaged tyre or wheel, or a tyre driven while very flat may be outside its scope. Michelin notes that a professional must examine the tyre internally to decide whether a safe repair is possible.
Read the bottle label for the application sequence and the permitted speed and travel after use. Do not invent a distance based on a different brand's kit. Tell the tyre workshop what product was used. If the tyre will not hold pressure as instructed, stop and arrange assistance rather than repeatedly adding sealant.
First response to a puncture
Hold the steering wheel, reduce speed smoothly and avoid abrupt inputs. Find a safe, permitted place away from moving traffic. Do not stop in a narrow lane simply because a warning has appeared if the car can be moved safely to a better location. Once stopped, follow the vehicle manual's instructions for the parking brake, warning lights and roadside warning equipment.
The safest decision may be to remain away from the traffic side of the vehicle and call roadside assistance. A wheel change requires stable ground, enough room to work and the correct jack points. A busy highway shoulder, soft soil, rain, darkness or an unsafe angle can make a DIY change unreasonable even for someone who knows the steps.
When calling for help is the right choice
Call for recovery if you cannot find a safe place to work, the damage is severe, the spare is unusable, a locking key is missing, or you are unsure about the jacking procedure. Describe the vehicle's location and tyre condition accurately. Your insurer's assistance, a manufacturer's service line or another verified recovery provider may be useful, but check the terms of any cover before a trip rather than assuming every call-out is free.
Keep occupants in a safe position as local conditions permit. Avoid standing behind or beside the car where passing traffic could strike it. Do not crawl under a vehicle held only by its roadside jack. The instructions and tools supplied with the car are for a defined wheel-change procedure, not general lifting work.
After the car can move again
Drive according to the spare or repair-kit limits and head to a tyre professional. Ask for an inspection of the damaged tyre, wheel and valve. A small external puncture can conceal internal damage from driving at low pressure. Have the workshop explain whether a proper repair is possible or replacement is required; do not assume a sealant-filled tyre is automatically repairable.
Replenish what was used. Replace a single-use sealant bottle, return tools to their storage locations and restore the spare's condition if it was fitted. Check that the repaired or replacement road wheel is fitted correctly and pressures are set according to the vehicle maker's guidance.
A five-minute check before departure
- Confirm whether the exact car has a full-size spare, temporary spare or sealant kit.
- Check spare pressure, tyre condition and kit expiry or charge.
- Find the jack, wheel wrench, locking key and printed instructions.
- Save verified roadside-assistance contact details and the service terms.
- Inspect all road tyres for visible damage and check pressures as directed by the vehicle maker.
There is no need to turn every puncture into a roadside repair. A useful puncture plan tells you what the car carries, what that equipment can safely handle and when the safest move is to call someone qualified.